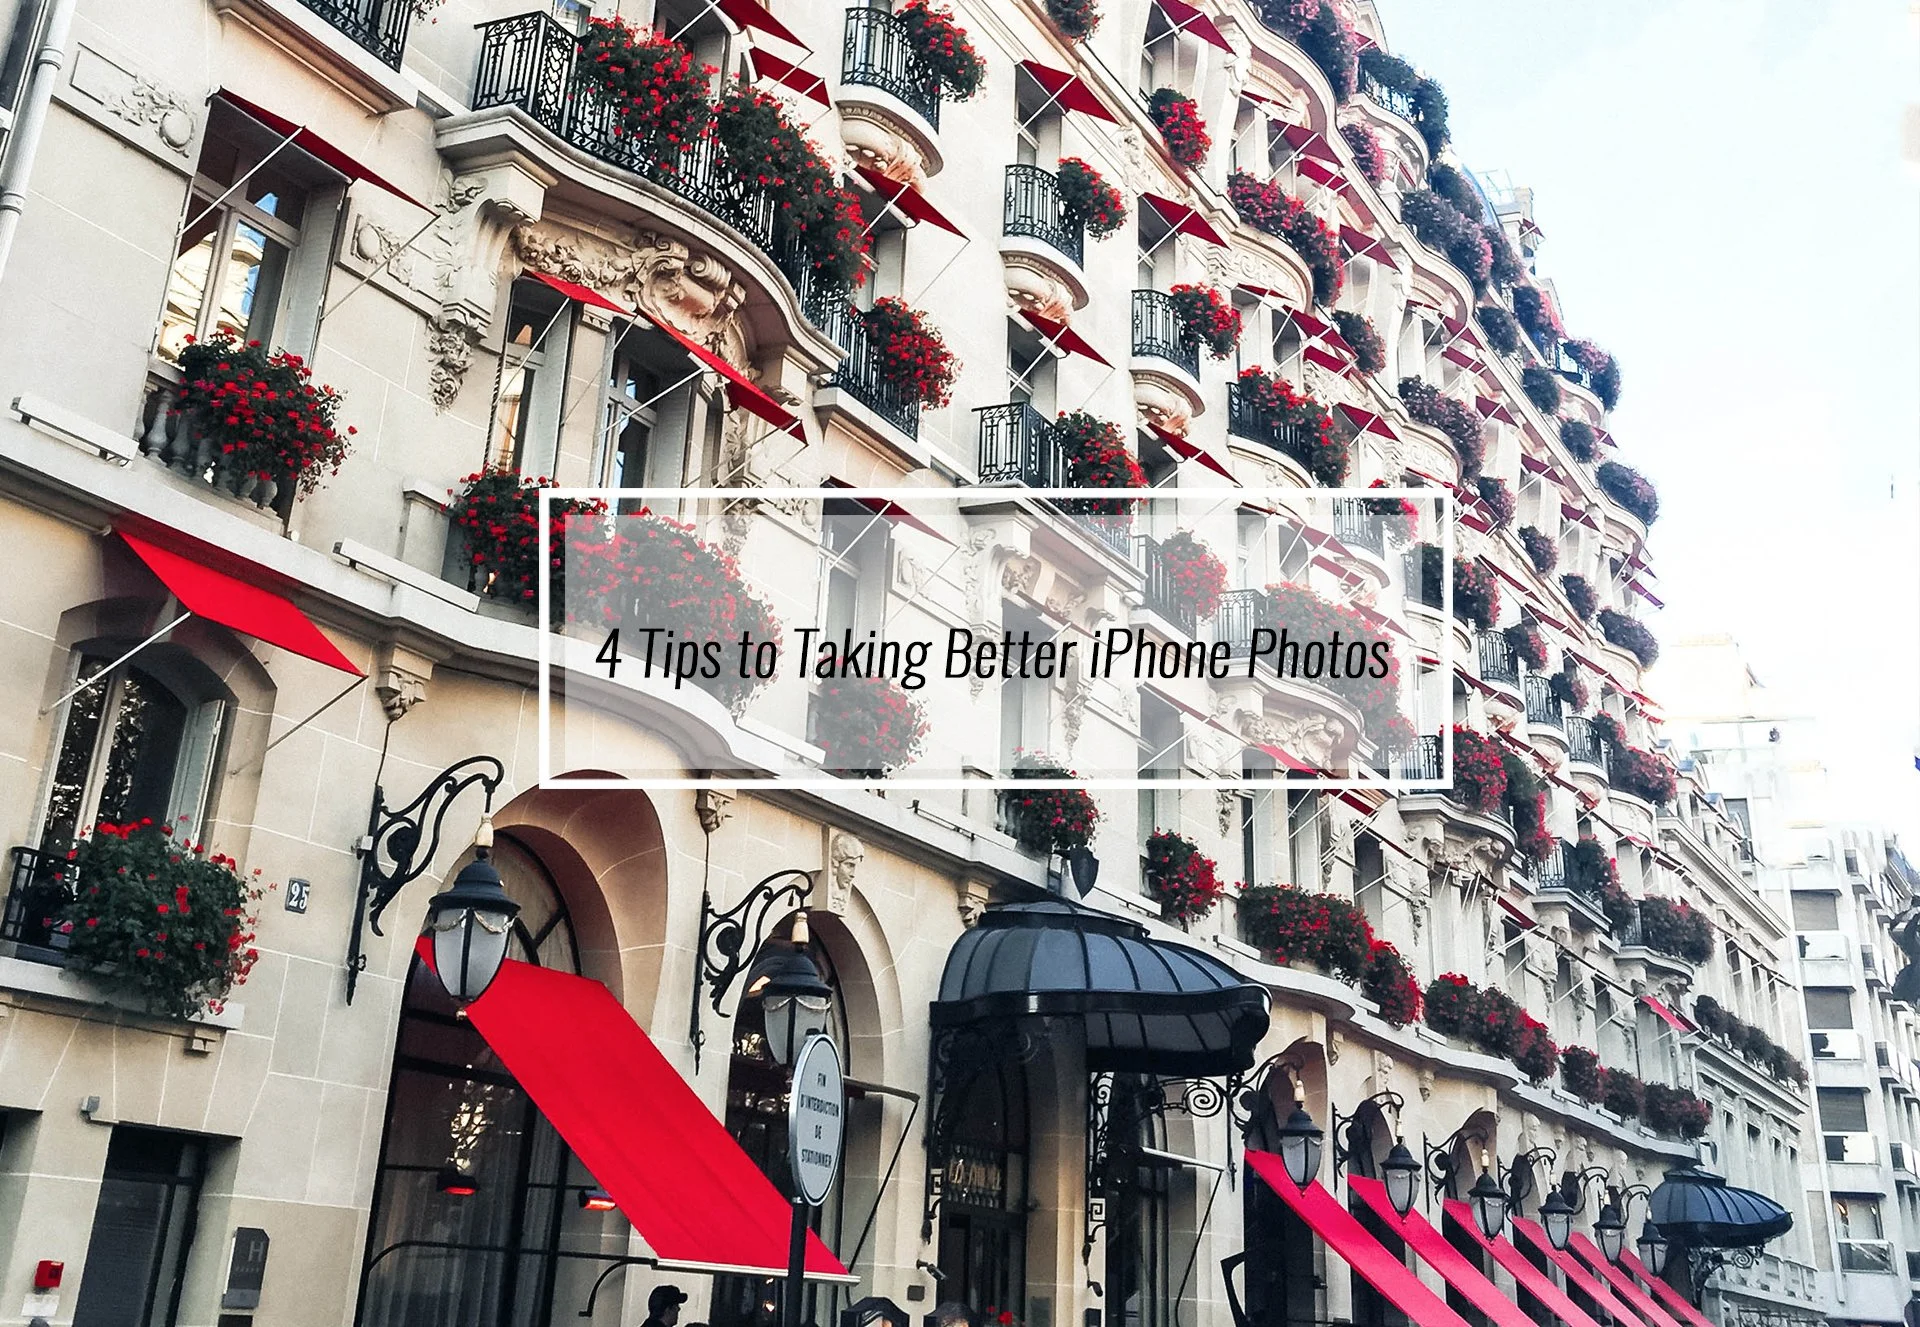
4 Tips to Taking Better iPhone Photos
Getting a great shot on your iPhone can sometimes be tricky! When you don’t have the same kind of control as you do on your dSLR you will need to be a little more tech savvy. Tip 1: Exposure & FocusWhen shooting on your iPhone or other smart phone, pay attention to your exposure and where the camera is focusing. Tap the screen to change where you want the focus to land, this will also change where the camera is reading the exposure. It’s best to keep your subject in direct sunlight to avoid any unwanted shadows on the face.
 Tip 2: Focal LengthThe focal length on an iPhone is roughly equivalent for a 32mm lens on a full frame camera; so it’s pretty wide. To not risk the images quality by zooming in on the phone, try some add on lenses to give you the extra focal length or width if you so choose! OLO Clip is a great accessory I like to use when I want to mix it up. You can see my review of the OLO Clip on my YouTube channel!Tip 3: Get LowMost iPhone photos you see are shot from chest level of the photographer. Shooting from a lower angle will allow you to show some details in the foreground you may have otherwise lost. It will also allow the viewer to see your subject in a new way!
 Tip 4: EditingYou got the photo, great!! If you’re anything like me, now it’s time to edit! Apple gives you some editing options but they are very limiting. A couple great editing apps are VSCO and Snapseed. They both allow you to adjust your exposure, contrast, apply filters, adjust sharpness, etc. The list goes on and on! This will allow you to put your finishing touch on your masterpiece!
 Stay inspired,Jana

